Installation
Pebble Engine is a “Meta Framework” on top of ThreeJS. It adds an editor UI, as well as some scaffolding for building out 3D browser-based games or websites.
Quick Start
Create a new project
Initialize Pebble Engine in your existing ThreeJS project with the following commands in the CLI.
Run init command
Pebble Engine has a CLI tool for inializing Pebble Engine in your project. From the CLI, run the following command:
npx pebble-engine@latest initOnce this is complete, you can launch the Pebble Engine Studio.
Manual Setup
Alternatively to the init command, you can manually setup Pebble Engine in your project.
Installation
Install the Pebble Engine Packages.
npm install @pebble-engine/corenpm install --save-dev @pebble-engine/studiopnpm add @pebble-engine/corepnpm add -D @pebble-engine/studioyarn add @pebble-engine/coreyarn add --dev @pebble-engine/studioEnabling TS Decorators
Pebble Engine leverages TypeScript decorators which allows devs to define which fields are @editable. To enable decorators, you will need to add the following to your tsconfig.json file.
{ "compilerOptions": { "experimentalDecorators": true, "emitDecoratorMetadata": true }}Start the Pebble Engine Studio
To start the Pebble Engine Studio, run the following command in the CLI.
npx pebblepnpm pebbleyarn pebbleThis will start the Pebble Engine Studio on http://localhost:3000.
From the “Scenes List”, you can create a new scene, or open an existing one.
When creating a new scene, you will start out with some very basic scaffolding.
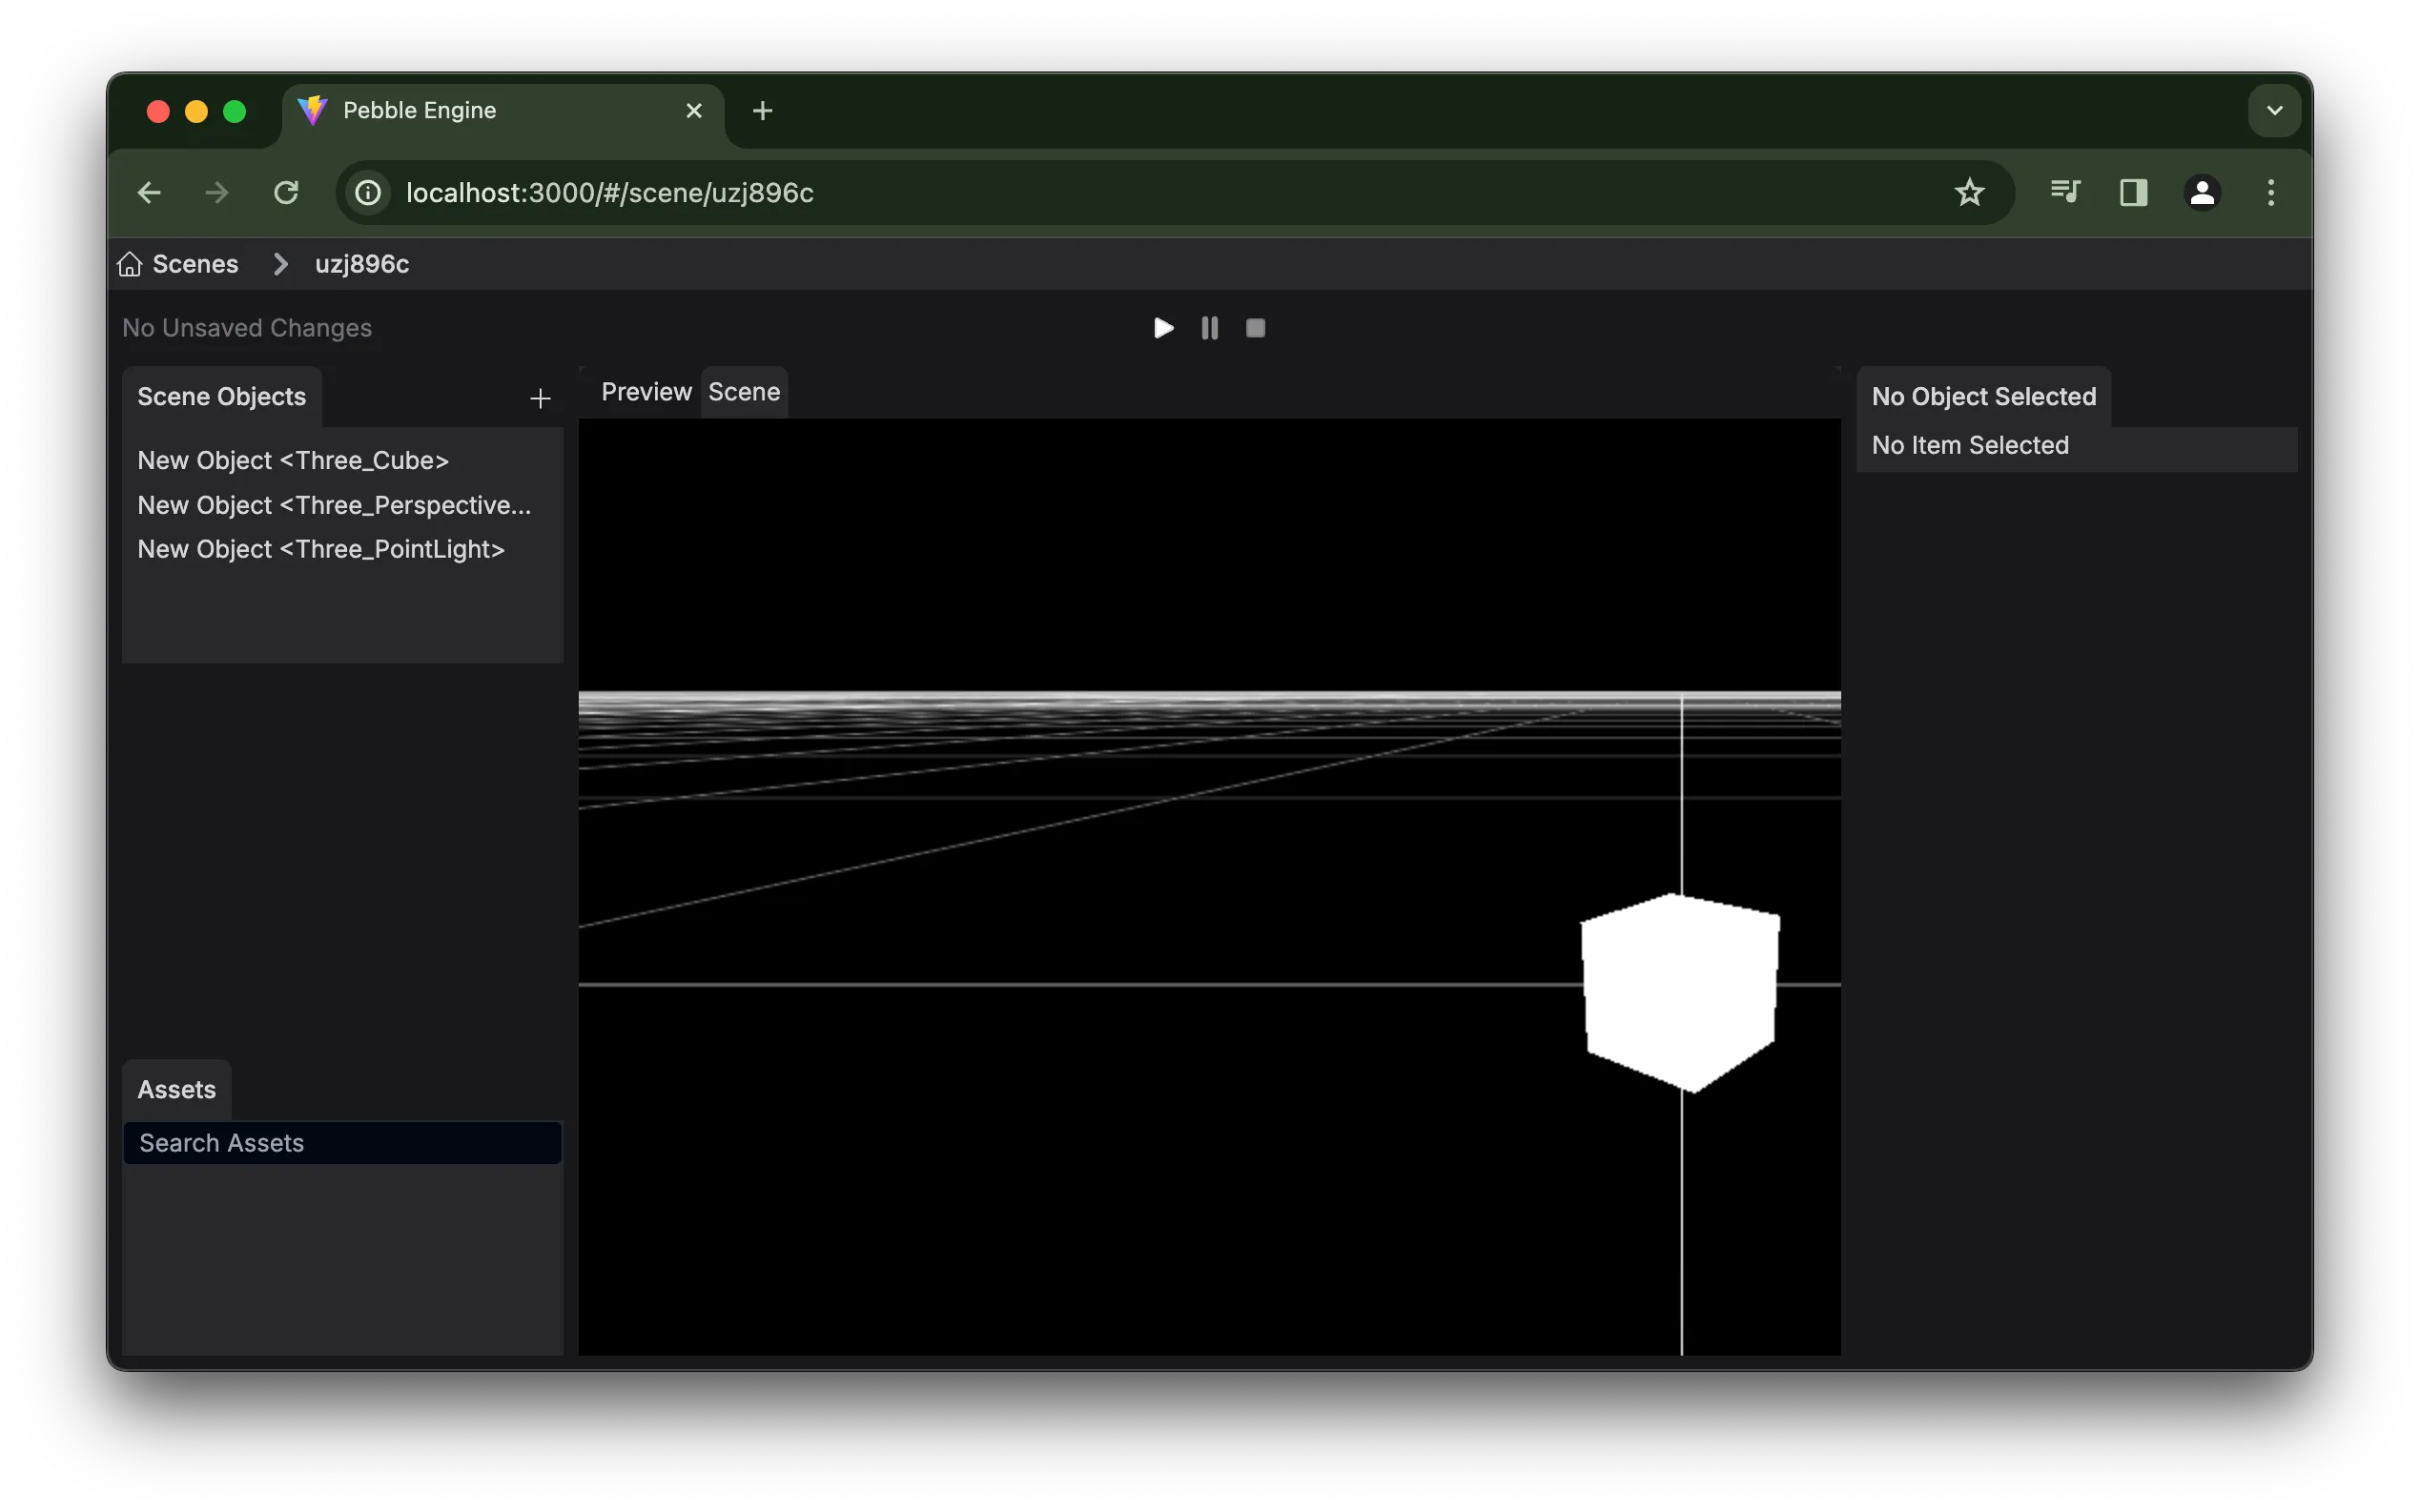
From the studio, you add new objects to your scene, and edit their properties.
Render your scene
Now that you have a basic scene modelled, you can render it in your ThreeJS project. Loading your Pebble Scene is done in just a few lines:
//REPLACE THE ACTUAL SCENE NAME / PATHimport myScene from "../pebble/scenes/city.json";//REPLACE THE YOUR ACTUAL PATH TO PREFABSimport * as prefabs from "../pebble/prefabs";
// setup your threejs renderer & scene object...
const pebbleScene = new PebbleScene({ renderer, scene });pebbleScene.loadScene({  sceneData: myScene,  prefabs,});
Below are a few full examples of how to load your scene in different environments (including the ThreeJS setup).
import * as THREE from "three";import { PebbleScene } from "@pebble-engine/core";
//REPLACE THE ACTUAL SCENE NAME / PATHimport myScene from "../pebble/scenes/city.json";
//REPLACE THE ACTUAL PATH TO PREFABSimport * as prefabs from "../pebble/prefabs";
document.querySelector<HTMLDivElement>("#app")!.innerHTML = `  <div>  </div>`;
//setup THREE rendererconst renderer = new THREE.WebGLRenderer();renderer.setSize(window.innerWidth, window.innerHeight, false);document.body.appendChild(renderer.domElement);
//setup THREE sceneconst scene = new THREE.Scene();
//setup Pebble sceneconst pebbleScene = new PebbleScene({ renderer, scene });pebbleScene.loadScene({ sceneData: myScene, prefabs,}).then(() => { console.log("Scene Loaded");});import * as THREE from "three";//REPLACE THE ACTUAL SCENE NAME / PATHimport myScene from "../pebble/scenes/city.json";
//REPLACE THE ACTUAL PATH TO PREFABSimport * as prefabs from "../pebble/prefabs";
function App() { const threeContainer = React.useRef<HTMLDivElement>(null);
const [loaded, setLoaded] = useState(false); useEffect(() => { //setup Three renderer const renderer = new THREE.WebGLRenderer(); renderer.setSize(window.innerWidth, window.innerHeight, false);
//setup Three scene const scene = new THREE.Scene();
//setup Pebble scene const pebbleScene = new PebbleScene({ renderer, scene });
// Need to track this incase we unbind before scene is loaded let bound = true; const container = threeContainer.current;
const setupScene = async () => { await pebbleScene.loadScene({ sceneData: myScene, prefabs, }); if (bound) { container!.appendChild(renderer.domElement); } setLoaded(true);
}; setupScene();
return () => { //if container contains renderer, remove it if (container!.contains(renderer.domElement)) { container!.removeChild(renderer.domElement); } setLoaded(false); bound = false; }; }, []);
return ( <> <div ref={threeContainer}></div> {loaded ? <></> : <div>Loading</div>} </> );}
export default App;Running your project
At this point, you should be able to run your project and see the scene you created live on your site!